
A reliable garage door opener makes everyday life more convenient by providing quick, secure access to your home. When it begins to malfunction, however, even simple tasks like leaving for work or returning home can become frustrating. While some issues can be resolved with minor adjustments, there comes a point when replacing the opener is the most practical solution. Understanding the replacement process can help homeowners determine whether the project is manageable or if professional assistance is the better option.
Recognizing When It’s Time for a New Garage Door Opener
Garage door openers typically provide many years of dependable service, but constant use eventually causes wear on internal components. Slow operation, unusual noises, inconsistent response to remote controls, or frequent reversals may indicate that the opener is nearing the end of its lifespan.
Electrical issues, worn gears, or outdated safety features can also justify replacement rather than repeated repairs.
Before purchasing a new unit, inspect the garage door itself. Rollers, tracks, springs, and hinges should all be in good condition because an opener is designed to move a properly balanced door, not compensate for mechanical problems. Addressing these issues first helps ensure the new opener performs as intended and lasts longer.
Selecting the appropriate opener is equally important. Chain-drive models offer durability and affordability, while belt-drive systems operate more quietly, making them ideal for garages attached to living spaces. Screw-drive and direct-drive options provide additional benefits depending on maintenance preferences and household needs. Matching the opener’s horsepower to the weight and size of the door helps prevent unnecessary strain on the motor.
Although many homeowners are comfortable performing basic garage door repairs, replacing an opener requires careful attention to electrical connections, mounting hardware, and manufacturer instructions. Evaluating your experience level before beginning the project can prevent costly mistakes and improve overall safety.
Following the Installation Process Step by Step
The first step is disconnecting power to the existing opener and pulling the emergency release cord to separate the trolley from the garage door. Once the opener is unplugged, remove the mounting brackets and hardware that secure the unit to the ceiling and wall. Taking photos of the original installation can make it easier to position the new system correctly.
After removing the old opener, assemble the replacement according to the manufacturer’s instructions. Many modern systems arrive partially assembled, reducing installation time. Secure the rail, attach the motor housing, and install the trolley before lifting the unit into place. Proper support is essential throughout this stage to avoid damaging equipment or causing injury.
Once the opener is mounted securely, connect it to the header bracket above the garage door and attach the door arm. Carefully route wiring for the wall control and safety sensors, making sure cables are protected from moving parts. The photo-eye sensors should face one another directly and remain free of obstructions to ensure they function properly.
With everything connected, restore power and begin programming the opener. Set the travel limits, adjust the force settings, and pair any remotes or wireless keypads. Open and close the garage door several times while observing its movement. If adjustments become more complicated than expected, professional assistance with garage door repairs may be the safest option.
Testing Performance and Maintaining Your New Opener
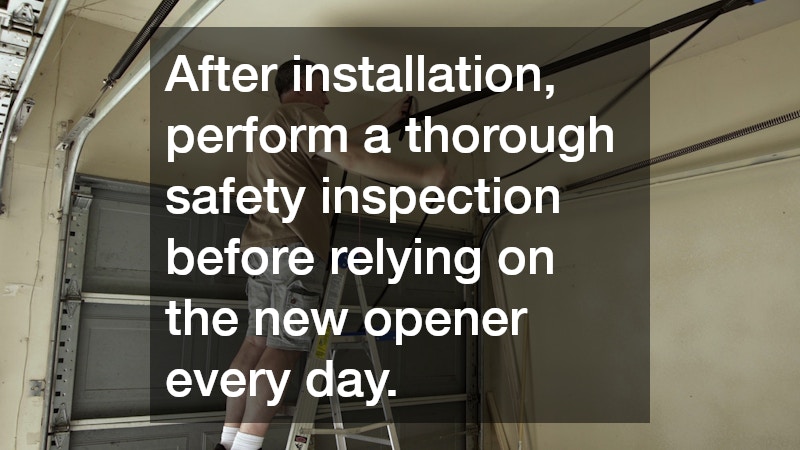
After installation, perform a thorough safety inspection before relying on the new opener every day. Place a small object beneath the garage door to verify that the automatic reverse system responds correctly. Wave an object through the photo-eye beam during operation to confirm the sensors immediately stop and reverse the door. These features play a critical role in preventing accidents.
Routine maintenance helps maximize the lifespan of your new opener. Tighten loose hardware, inspect mounting brackets periodically, and lubricate rollers, hinges, and other moving components with products designed specifically for garage doors. Keeping the tracks clean and free of debris also reduces unnecessary strain on the motor.
Pay attention to changes in performance over time. Grinding sounds, delayed responses, or uneven movement may indicate developing mechanical issues elsewhere in the system. Addressing minor concerns promptly often prevents more extensive repairs later while keeping the opener operating efficiently.
Homeowners who stay proactive with inspections and maintenance often experience fewer unexpected breakdowns. Even after replacing the opener, occasional professional evaluations can identify worn springs, cables, or rollers before they become major problems. Combining preventive maintenance with timely garage door repairs when necessary helps maintain safe, dependable operation for years to come.
