
DIY is an excellent hobby because it allows creativity and productivity. It also lets you learn new skills and work on projects to improve your home or workspace. If you have a garage, the best place for your DIY workshop is there. You can clear out some junk and set up a workbench to make a dedicated space for your projects.
It’s essential to have a hobby to turn to when you need to relax and recharge. DIY gives you a great opportunity to decompress after a long day of work and express your creativity while learning new skills.
So, here’s a walkthrough of the basics for turning your garage into a DIY workshop. This is a great way to get organized and work on your projects in a dedicated space. From setting up your workspace to managing your tools and materials, you’ll find everything you need to get started.
How to Set Up Your Workspace
Before you can begin doing projects, you need a place to work. A garage that’s full of junk is no place for a DIY workshop. So, here’s how you can convert your garage into a place to work.
Step 1: Clear Out the Junk
The first step in turning your garage into a DIY workspace is clearing out all the stuff that’s been piling up over the years. You should start by getting rid of everything you don’t need, use, or love. If it’s broken or damaged, you can probably sell it or give it away to someone who could use the parts.
Step 2: Set Up Your Workbench
Next, you’ll need to set up your workbench. This is the center of your workspace where you will do most of your projects. Make sure you have enough room for it in the garage. Then, secure a table or workbench top to make it sturdy.
Step 3: Set Up a Shop Vacuum
A workshop isn’t complete without a shop vacuum to clean up after projects. If you don’t have one, you can pick up a cheap model or borrow one from someone. Just make sure it’s enough for your garage size because you don’t want to clean up after each project.
Step 4: Set Up Your Storage System
To keep your garage clean, you’ll need a storage solution that keeps everything organized and off the floor. You can use pegboard and hooks to keep tools and frequently used materials at your fingertips. Then, keep bulkier items like power tools on shelves or make your own with plywood and 2x4s.
Step 5: Label Your Storage Areas
Pull everything together into a few different storage areas as you’re going through your garage. Ensure that these locations are clearly labeled, so you know where to find your tools and materials.
Step 6: Consider Your Lighting
Finally, look at the lighting in your garage and see if you need to adjust it. This can be as simple as adding a few more light bulbs. Or, if the garage only has one overhead light, you can add a lamp or two on the workbench to supplement the lighting.
Tips for Working in Your New Workshop
Now that you’ve got your garage workshop organized, there are some tips for working in it efficiently. Of course, they’re all pretty standard for working in any workspace, but they’re worth mentioning.
Tip #1 Use Microfiber Cloths For Cleaning
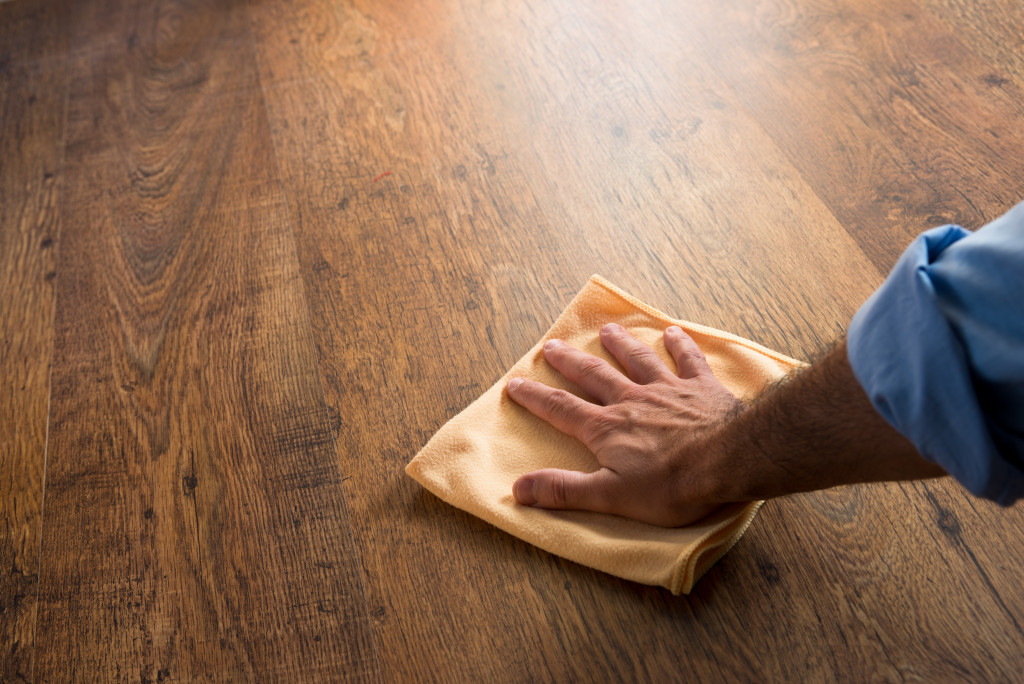
One of the downsides to having a dirty workspace is that it can get dirty again quickly. So, it would be best if you had plenty of microfiber cloths on hand to clean everything up in between projects. Microfiber cloths are very versatile and can be used for more than just cleaning materials.
Tip #2 Label Your Tools
When working with multiple power tools, it can be challenging to keep track of them. To combat this issue, consider labeling each device to know which one goes with which project. You can do this with a label maker or scribble on it with a permanent marker.
Tip #3 Order Your Materials
As you’re doing projects, you’ll accumulate some materials that don’t belong in the storage areas. Instead of leaving them on the workbench, you should order them by the project. Then, when you’re ready to work on that project next, everything will be nice and organized.
Tip #4 Install Safety Measures
Finally, don’t forget to include some safety measures in your new workshop. You can do this by installing safety rails on any shelving, so you don’t have to worry about items falling off. And, if you’re working near an open garage door, consider installing a Sargent panic bar to prevent yourself from being stuck inside in case of emergencies.
Now that you know how to turn your garage into a DIY workshop, it’s time to get started! Just follow these simple steps, and you’ll be well on your way to having an organized and functional workspace. Like any workspace, the better organized it is, the more time you can spend doing what you love. So, what are you waiting for?